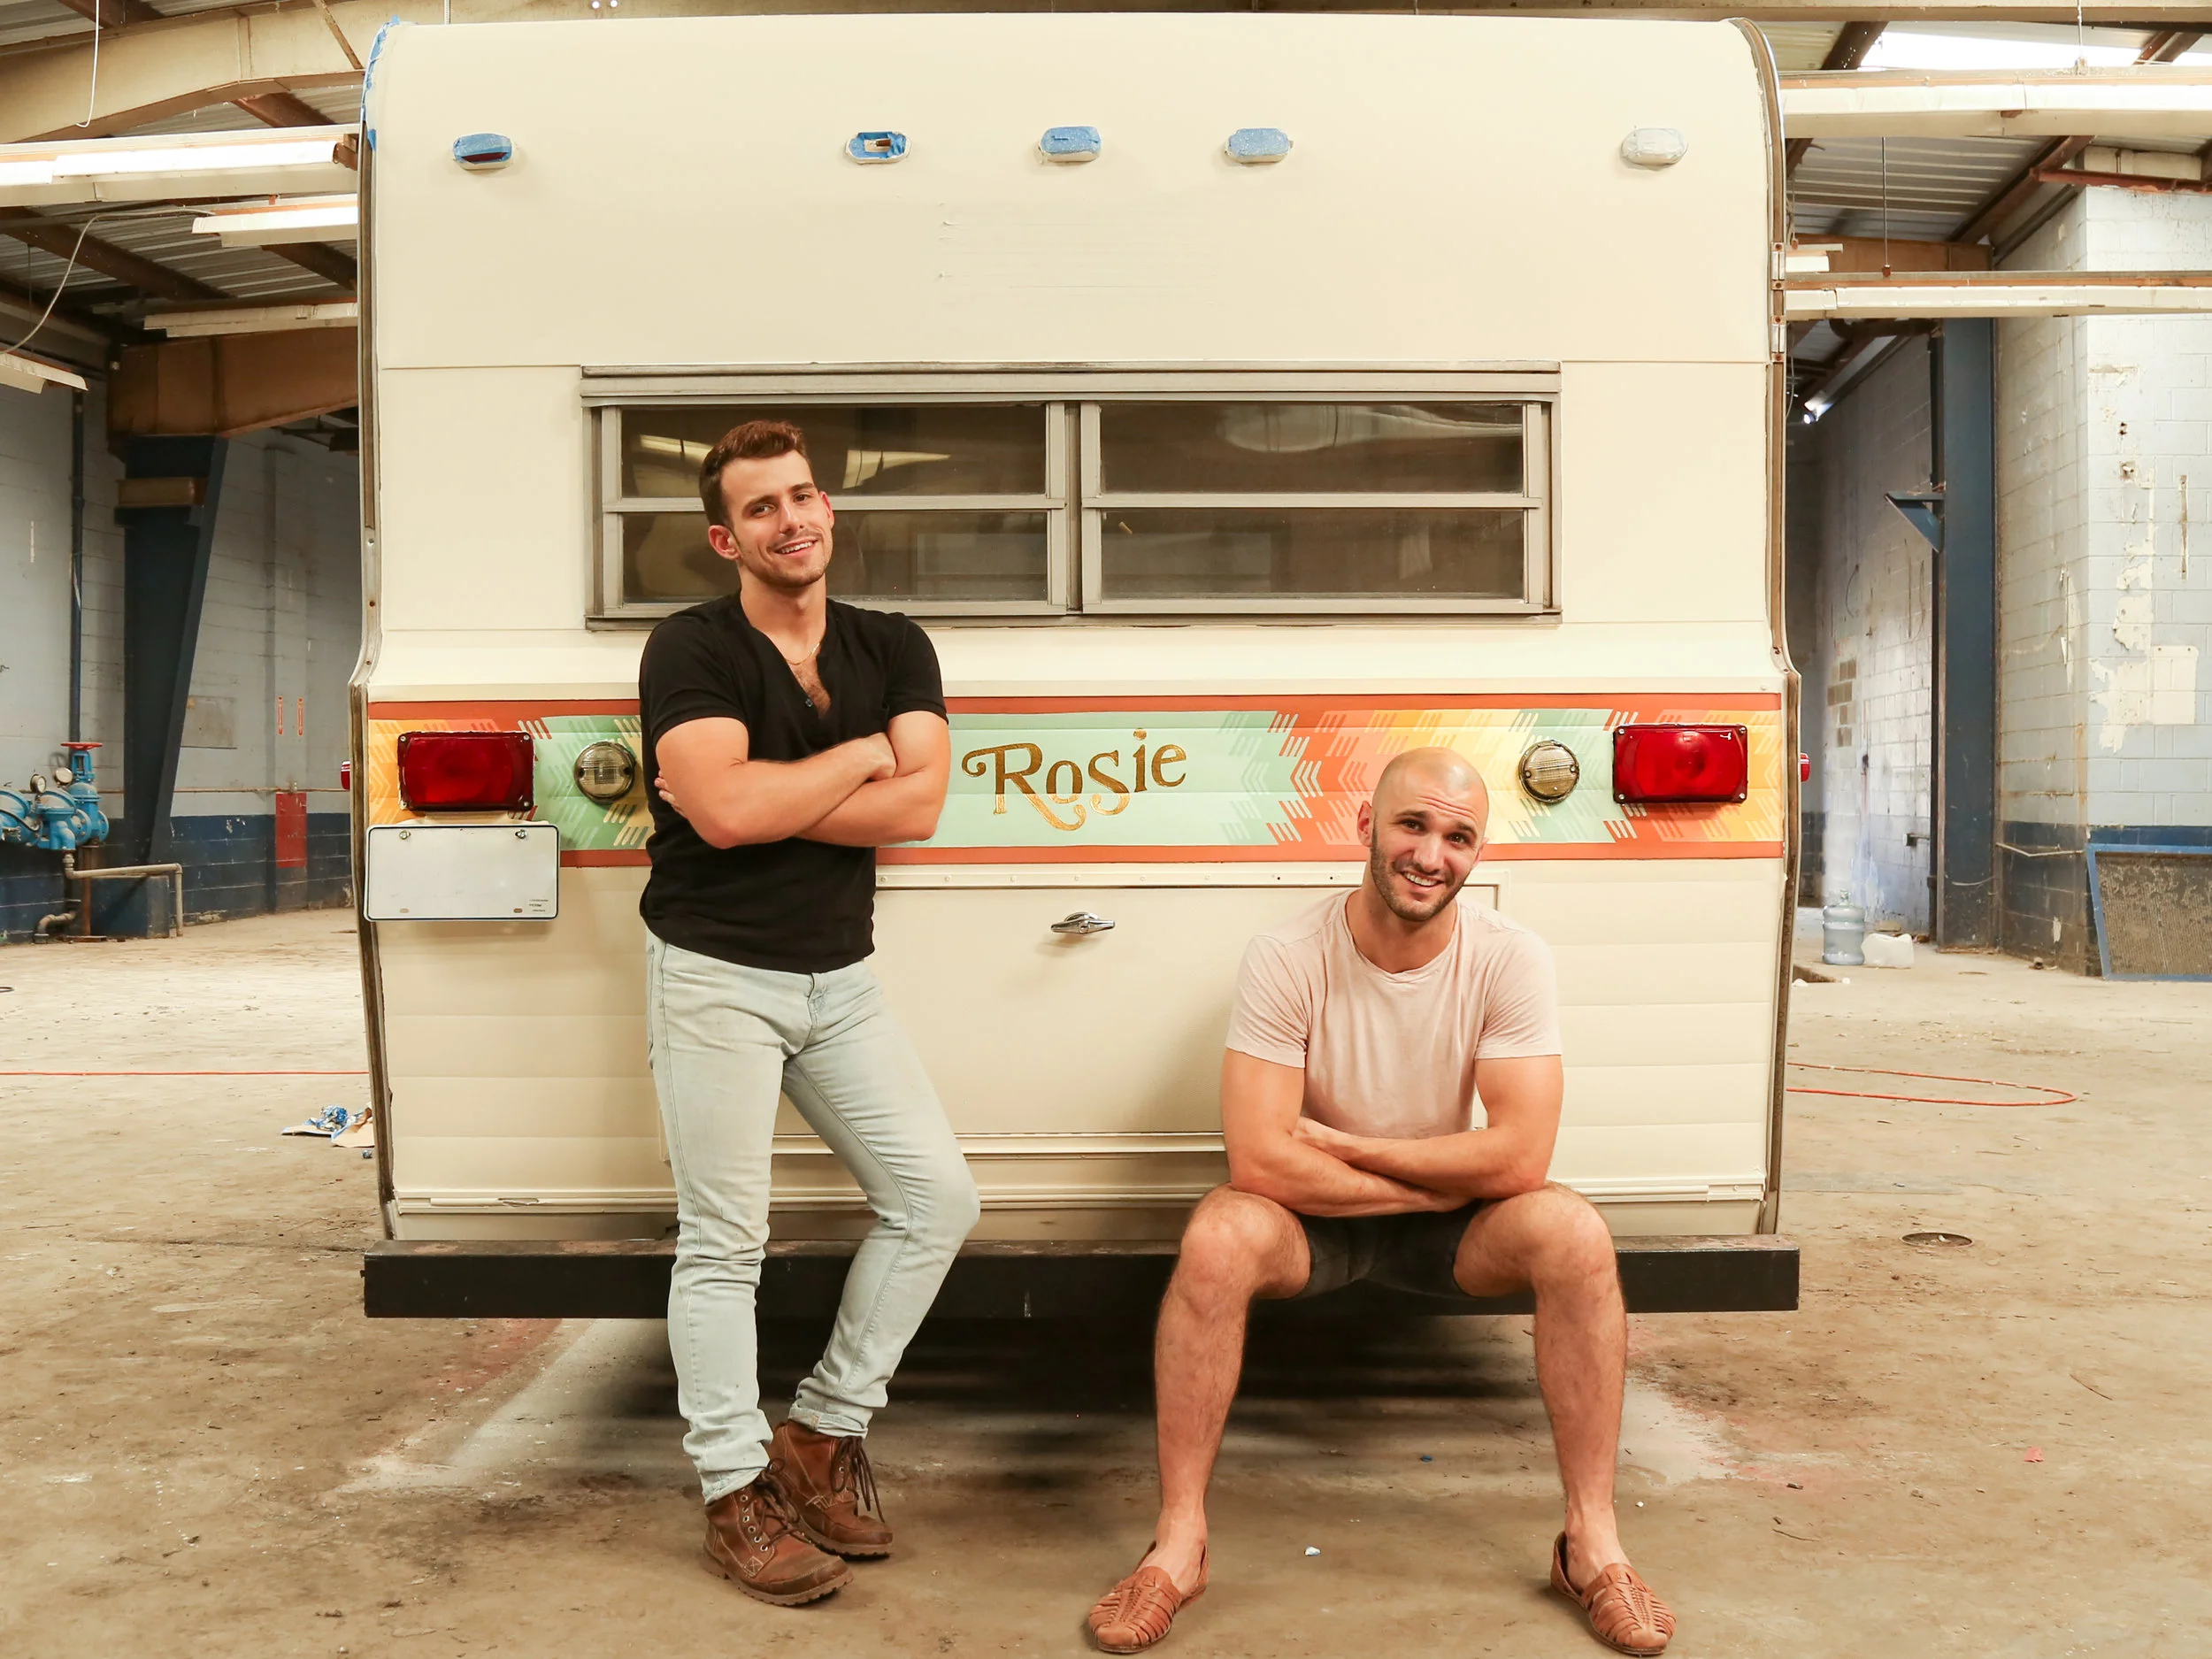
Rosie Renovation: How to Paint the Exterior of a Travel Trailer

When I was moving out of my first apartment I hired a moving service and it was hella freaking awkward because I was 19 and everyone that showed up to move my loads of cheap furniture was about my age and I realized half way through that most college-age men don't hire movers. I couldn't even help move because of some legal restriction due to possible injury, so I quickly excused myself to go to a "work meeting" which was actually just a sushi date with a girl friend. Matt just commented that I haven't changed at all, so.
I'm not particularly proud of this moment, but the point is that I've never been someone who *chooses* to do manual labor recreationally. This whole trailer project has really opened up a whole new world. We got a tool box AND I learned that fashion sandals are not always an OK thing to wear. Great!
Painting the exterior of Rosie was one thing we knew we wanted to do from the start, but it was also one of the most intimidating parts of this whole renovation project. It's basically like painting a teeny tiny metal home and I had more or less no clue what that process was supposed to look like but I did know that if I screwed it up not only would I low key hate myself but also we'd have a camper parked in front of our house with a subpar paint job and everyone would be like "Oh no what did those two nice gay boys do to that camper it was so cute before!" Needless to say the pressure was on, and major amounts of research and planning went in to making this whole exterior paint job happen.
Below we've got step-by-step instructions to DIY, along with out personal experience picking out colors and finishes etc. This post is part of our on-going renovation of Rosie, a 1969 Globestar camper, and is brought to you by eBay. We'll be showing you how you can use eBay to do everything from picking out the perfect camper to selecting fabrics and other details! Click here to shop all home painting supplies and sprayers available on eBay.
Picking the Color
From the very beginning we knew we wanted to keep the original color scheme (cream and red) to some extent, but with a little more pizazz and modern attention to detail. After many, many hours trying to figure out what Rosie's outside should look like, we settled on doing a cream base color over the whole thing, and having a stripe of Southwestern-inspired color pattern around the middle. We're not artists, so that patterned stripe portion of the paint job is actually getting done at this very moment by Faye Bell, an Atlanta based artist who has insane talent that you're going to see in the next couple of weeks. More on that part of Rosie's exterior to come, but be sure to check out Faye's work!
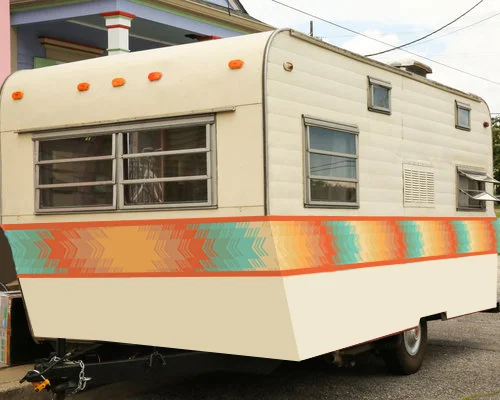
Here's a sample mock up that Faye created:
Once we knew we needed to do a cream exterior, we had to actually decide on a color and finish. In case you've ever wanted to lose your entire mind, walk into a paint store and look at all of the off-whites and creams and pale beiges. It's so tricky, because when you're going for basically the color of half n' half (yuck, but true), you'll find yourself sliding into some weird territory that easily lends itself to colors that are either way to white, way too yellow, or way too ... just not right.
At this point we did what we've done throughout this entire process (literally, from the first inkling of an idea that we wanted to do a vintage camper renovation to this very day): we turned to Jill + Kyla of Our Wild Abandon, who we've had on speed dial. These two have some experience with camper renovations and painted their camper (Billy) a shade of Behr paint called "Almond Milk." Besides having a name we could get behind, it basically was the exact shade that Rosie already had but just a touch brighter, which was perfect. So we told them we were going to steal this fantastic color and now here we are. Also, we're doing this project with exterior house paint and not automotive paint, as Rosie came this way and isn't really a hot rod, so the less glossy finish kinda works best on her.

What You'll Need; What You'll Want
An enclosed, ventilated space to paint in. Yes you can do this outside, but you'll want to be in a city / season that can promise you it won't suddenly pour down raining (i.e. not New Orleans) and you'll want to control the environment as much as possible. We lucked out with scoring a unnecessarily massive warehouse to paint Rosie in (thanks, Megan, Rosa, and Seth!!) which gave us shelter from the rain, but also made sure there wouldn't be swarms of teeny tiny summertime bugs getting caught in the wet paint, or wind that would screw up the spraying process, or nosy neighbors judging our painting skills from afar (this literally doesn't happen but #thedrama).
Paint and primer. For our 16' camper, we found one gallon to be enough for one coat, so we did one gallon primer and two gallons paint which gave us one coat of primer and two of the paint. Make sure you select the right primer for your paint. As we're doing this with exterior home paint, we just got one for exterior houses. When in doubt, consult your local paint people at the hardware store.
A paint gun that can spray exterior or automotive paint (if using). This really helps with getting an even coat of paint on the thing and makes the process fly by. We used the Wagner Flexio 570 which worked well, but I'd say you wouldn't want to do a project any bigger than this with a smaller hand-held paint gun as you'll be refilling it constantly which can get messy, and after a while of use we did notice it started to splatter a bit. BUT, for the price it's actually a pretty great piece of equipment. Also, make sure you've got an extension cord long enough to reach your outlet as these guys have relatively short cords. You'll want to wear a protective mask when using these guys as they do kick up some paint into the air.
A sander with sanding sheets that have a coarse finish (we used p60). You'll need to sand off and scuff up the old paint so that your primer has an ideal surface to cling to. We did this with a handheld sander because we didn't really trust ourselves with an electric one, for some reason. It took about an hour for us working together to sand the entire thing. If you're a beginner (cough - us - cough) and think you may have some drips of paint, make sure to have some sanding sheets that are less coarse, such as p100, so that you can sand down and repaint any parts of the trailer that have big globs of dried paint drippings.
Cleaning supplies for the exterior as you'll be needing to do a good cleaning both before and after sanding off the old paint to prep for the new coat. This is super important as any residual dust or grime is going to give you a less professional looking paint job and potentially mess up how the paint adhere's to the surface of the camper. We used automotive sponges, Mr Clean, scouring pads, and microfiber towels for this.
Typical paint prep supplies such as exterior blue painter's tape (we went through like 4 rolls); carpenter's paper; a measuring tape; a ladder; an angle brush for any tight spots or edges and a roller for any spots that begin dripping after spraying on the paint. You also may want to have painter's plastic if doing this in a warehouse or enclosed space - and be aware the spray gun does cause paint particles to kinda spray everywhere.

The Process
Once your camper is parked in it's paint location, give it a very good bath. Starting at the very top and working your way down, get deep in the nooks and crannies and really just go for it. Keep in mind that if it's a vintage trailer it may have something like 50 years+ of stuff stuck to it, and weird things will just like fall out of random places during this process but you just gotta keep moving on. My method was to scrub really well with a scouring pad soaked in a Mr Clean / water solution, followed by a gentle rubbing with a sponge soaked in the same solution, followed by a rinse of water, and finally a drying off with the microfiber towel.

After it's clean, it's time to sand everything down with your sander. Remember, a coarse p60 sanding sheet is best for this part. There's really no fun way to describe scraping old paint off of metal, so, like, sorry. You'll want to scuff it up really well, making sure to get every square inch (see photos below for what this looked like).

After it's been sanded, repeat step 1 with the cleaning - there should be loads of dust and more gunk to get off. Now it's time to tape everything you don't want to paint - and because we're using a paint gun that is maybe not quite as accurate as your hands with a brush, you've really got to tape off every single thing. For windows, we measured and cut sheets of brown carpenter's paper and attached them to the window frames with the painter's tape. All of your reflectors and lights etc also need to get covered in tape to protect them.
Read the instructions on your paint gun very very carefully and fill with your primer. Give it a go, maybe testing on some carpenter's paper before you begin so you know exactly how strong the spray is. Prime your trailer from end to end and allow to dry. It took us about 30 minutes to prime it and maybe half an hour for it to dry.

Thoroughly clean out the paint gun according to the instructions and fill with your paint. Repeat the same process as with the primer, let dry, and paint a second coat. If you're doing a stripe in the middle or anywhere on the camper, just repeat the steps above for that section of the camper, tape it off nice and tight, and get to priming and painting!
Once the paint job is finished, do touch up in corners and tight spots with your angle brush. If you see drips of dried paint as we mentioned may happen above, sand them down and then touch up with your brush.
And you're done! Remove the tape, have a beer, and write a blog post about it or something like that. Check back for more Rosie updates coming over the next couple of weeks!


Thanks so much to eBay for sponsoring this post and this entire project! Don't forget to check eBay for tools for your next interior or exterior painting project.