DIY Fluted Bed!!!
Hello dear friend and please excuse the longest Blog Break we’ve ever taken!! Six weeks!! It turns out that when you’re renovating a house and ~ working on a huge undisclosed project ~ while also having, you know, a life, it’s hard to sit down and write out a big ol’ blog post. Who knew! And this is where I plug our weekly newsletter, because it’s a personal from us-to-you love letter that goes out almost without a hitch every single Wednesday, and it’s a really cute little community where we talk about our lives, current favorites, design / diy / entertaining inspo and also have exclusive giveaways. Subscribe to it so we can chat once a week, and no more than that, because we don’t spam our fam :)
SO anyway, we didn’t want to end our Six Weeks of Silence with some teeny tiny little project or silly little life update! Today we’re sharing the process behind DIY’ing our fluted bed! We had a few reasons for wanting to DIY this sucker instead of just doing the normal human thing and buying one, but, tbh we also had some major concerns.
Let’s start with the reasons! Our bedroom suite is upstairs and the stairs that lead to it are 100+ years old… and they weren’t built to what is current standard building code. They’re incredibly narrow and also make a full 90 degree turn in the middle, which makes moving furniture up them, like, hard. A king sized headboard getting up there? Unlikely.
The other reason we DIY’d this is because we’d just splurged on renovating the whole bedroom suite and so saving money via DIY was, you know, attractive.
Our biggest concern, given that we’d never built a piece of furniture that we had to lay on for eight hours a day, was that we wouldn’t be able to build something strong enough to hold our combined 400 pounds of body-ody-ody. Further than that, we wanted to make sure it didn’t… um… wobble. No further embellishment required, but a bed needs to be sturdy! It was going to be a test of our logistical skills to make sure it wouldn’t collapse.
Well, since we actually did this project about three months before now writing about it, we can happily share the good news that the bed is not only still fully intact, it’s actually proven to be the most solid bed we’ve ever owned. There’s no squeaks, creeks, or cracks to be heard, even after months of slamming our exhausted bodies into it every night.
The construction took about two days and it really could’ve just been one day if we’d been able to work on it straight through without stopping to teach ourselves exactly how to do everything. All the materials we used were purchased from a regular ol’ home improvement store and the cost for it all came out to just under $500—so it’s not wildly cheap, but it’s still less than a third of the price of the bed we would have purchased if we didn’t build this one.
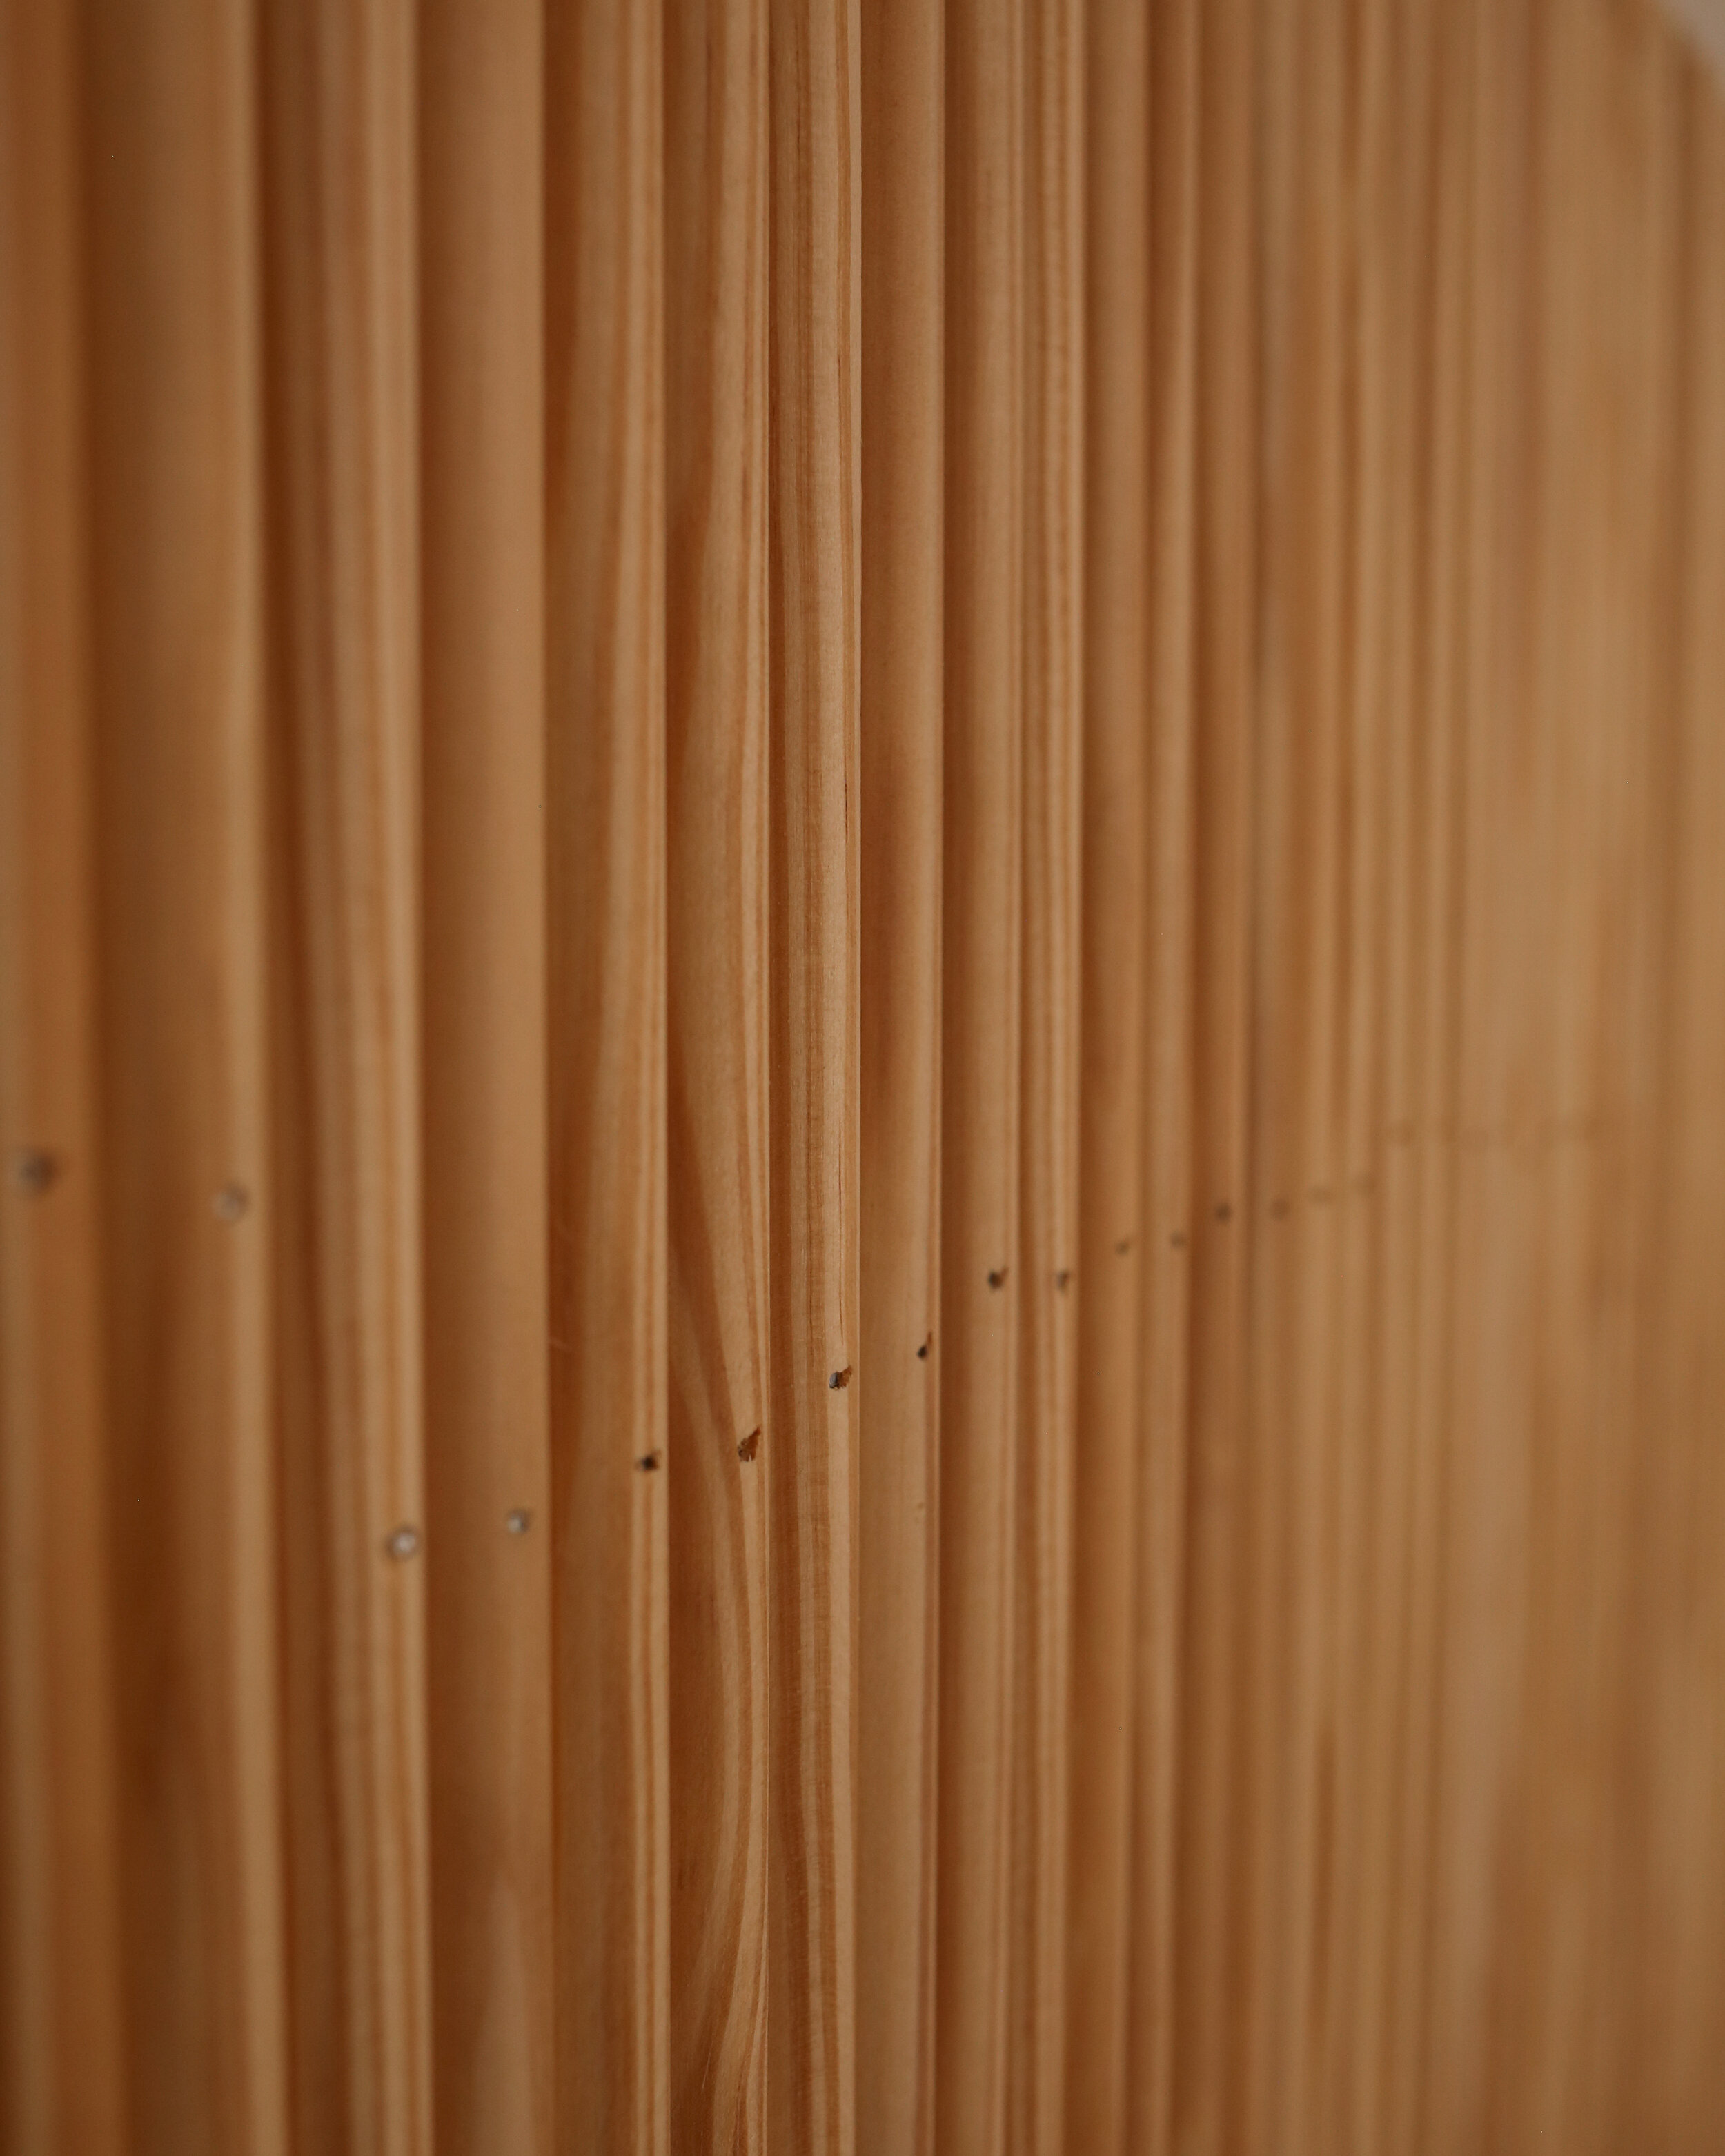
If you saw our fluted coffee table DIY, you know we love a fluted moment, so we were so excited to make our bed into a fluted dreamland. And hey, we know fluting is somewhat trendy right now, but it’s also very classic—fluting has been around in architecture basically forever, and had a major moment in the art deco styles of the 1920’s. Fluting doesn’t have to be round, but rather refers to any time a piece or structure has multiple or many identical grooves that create a texture with light and shadow. The more you know!
Now enough chit chat, let’s get down to bizness.

DIY Fluted Bed & Headboard
takes 8 hours | makes one king sized bed (instructions at bottom for altering this for any size bed) | costs $300-$500
Project overview: you’re going to build one bed frame and one separate headboard, attach those together, and then attach fluting to the entire facade of the bed with a brad nailer. The fluting will get “capped” with small shelves to give it a finished look. Nail holes get filled and then it all gets painted with a durable paint. Slats run side to side to act as your support for either a box spring or memory foam mattress. We made a king sized bed and have provided measurements for such, but the below instructions can be easily tailored to any size bed you’re making. Below we’ve provided you with a list of tools and wood cuts you’ll need. You can get all of the wood for the frame and headboard cut at most big home improvement stores, and we did that for everything but the fluting, which we used a miter saw for as we had to cut like a hundred pieces.
Tools
Miter saw
Power drill + wood screw
Brad nailer + 3/4” brad nails
Sanding blocks
Paint brush or sprayer
Materials for the Bed Frame
Two 1x8 pine boards cut to 76.5" long. These will be front and back of the bed frame (headboard and footboard).
Two 1x8 pine boards cut to 81” long. These will be the left and right sides of the bed frame running from headboard to footboard.
Eight 1x3 pine boards cut to 22” long. Two of these go in each of the four corners, creating L-shaped corner posts. These can be shorter or longer than 22” depending on how high you want your bed to sit, but we found 22” to be perfect.
Two 2x2 square posts cut to 78” long. These will run on the interior of the left and right sides of the bed frame to hold up the slats that your mattress will rest on, and the length is based on the interior measurement of the frame we’re building.
One sheet of smooth 3/4” plywood cut to 80”x22.” This will be the face of the footboard.
Eight 1 1/2”L-brackets
Felt pads for each leg
Materials for the Headboard
One sheet of smooth 3/4” plywood cut to 80”x36.” This will be the face of the headboard.
Two 2x2 square posts cut to 58” long. These will be the side posts for your headboard.
Two 1x3 pine boards cut to 58” long. These will connect the headboard to the bed frame.
Materials for Caps & Mattress Supports
Two 1x3s cut to 81.5” long, and sanded down to round all the edges. These will be the small shelf-like caps to the fluting on both the footboard and the headboard.
Ten 2x4s cut to 77.5” long. These will run horizontally from left to right and act as slats holding up your mattress.
Decorative Fluting
Half-round fluting (we used this 5/16” x 5/8” unfinished pine), cut to desired length using a miter saw, see notes
Primer suitable for bare wood
Enamel Paint or Oil-based paint
Wood filler
First up: making the bed frame. Start by using your power drill to screw the eight “legs” into each of the four sides, so you’ll end up with four pieces with a leg on each end. Do this by using your power drill to screw two 1x3 boards into either end of the four 1x8 boards, making sure the tops are flush. Using the floor can be a great guide here to make sure the ends are even, so start the process with the bed upside-down. See photo below for reference!
Continuing upside down, it’s time to connect all four pieces. Remember, you technically have eight “legs” but when they join together they become four L-shaped corner posts, which you can see in the photo below. Important: the headboard pieces (76.5”) should go inside of the left and right side boards (81”). Butting these boards up against each other is called a “butt joint” which is a very simple but somewhat weak joint, so we’ll need some reinforcements to make it sturdy. Reinforce the four joints with 2 L-brackets per leg—one near the top and one near the bottom Using a clamp here can also be helpful in making the leg corners perfect and flush while you drill.
Now we’re going to create the small shelf that the bed slats will sit across. How high or low you go with these depends on how thick your mattress is, but we positioned ours about 5” from what would be the top of the bed frame. Screw the two 78” 2x2 posts to the interior of the bed’s sideboards, making sure they’re level. See the second photo below for reference. Apply the felt pads to the bottom of each leg (this helps prevent scratching your floor!) and flip over the bed.At this point, you basically have the bed frame’s framework put together!

As you can see in this photo, the bed is built upside down, and you start by connecting the eight leg posts to the two side and two front and back posts.

Notice the rail on the interior right side of the bed frame—there’s another on the left side of the bed frame and together these will support our slats that the mattress will rest on. These are the two 2x2 pieces of wood cut to 78” placed about 5” from the top of the frame.
Next up, time to make the headboard! The two 2x2 posts will be the left and right side of the headboard. Screw these onto the back of the 80” x 36” piece of plywood, making sure to keep the edges of the 2x2 posts flush with the sides of the plywood. Next, on the interior side of each 2x2, screw a 1x3 into the headboard plywood. This will be what you use to attach the headboard to the rest of the bed frame. Resting the overhang of the headboard on top of the bed frame, screw on the headboard—remember, you’ll be screwing through the 1x3’s, through the plywood, and into the bed frame. The headboard side posts will come up off the ground. For the face of the footboard, just screw the 80”x22” piece of plywood onto the bedframe And now we’ve basically built the bed!
Finally, time for fluting! Use a miter saw to cut the individual pieces of fluting to the appropriate size. We had four lengths to cut that are all visible in the above photo—the vertical strips for the headboard, the vertical strips for the footboard, the horizontal strips for the side boards, and then, if you look closely at the bottom of the image, the vertical strips for the corner posts beneath the horizontal sideboards. You can copy our exact method or do your own pattern, but this is what sounded aesthetically most pleasing to us! Using a brad nailer, attach all of the moulding pieces to the headboard and footboard as desired, and to the side boards if you like.

Cap the headboard and footboard each with sanded 1x3s, which can just be nailed into the frame from above. Cover the nail holes and any other obvious imperfections in the wood with wood filler. Allow the filler to fully dry, then prime and paint or stain your bed as desired, making sure to perform multiple thin coats rather than a single thick one. A paint sprayer would be fantastic, but we just used a good ol’ brush. Make sure to use a paint that is intended for high-traffic or damage-prone areas, like an enamel paint or oil-based paint. We used Pure White SW 7005 in Sherwin-Williams’s Urethane Enamel Trim and it’s held up great!
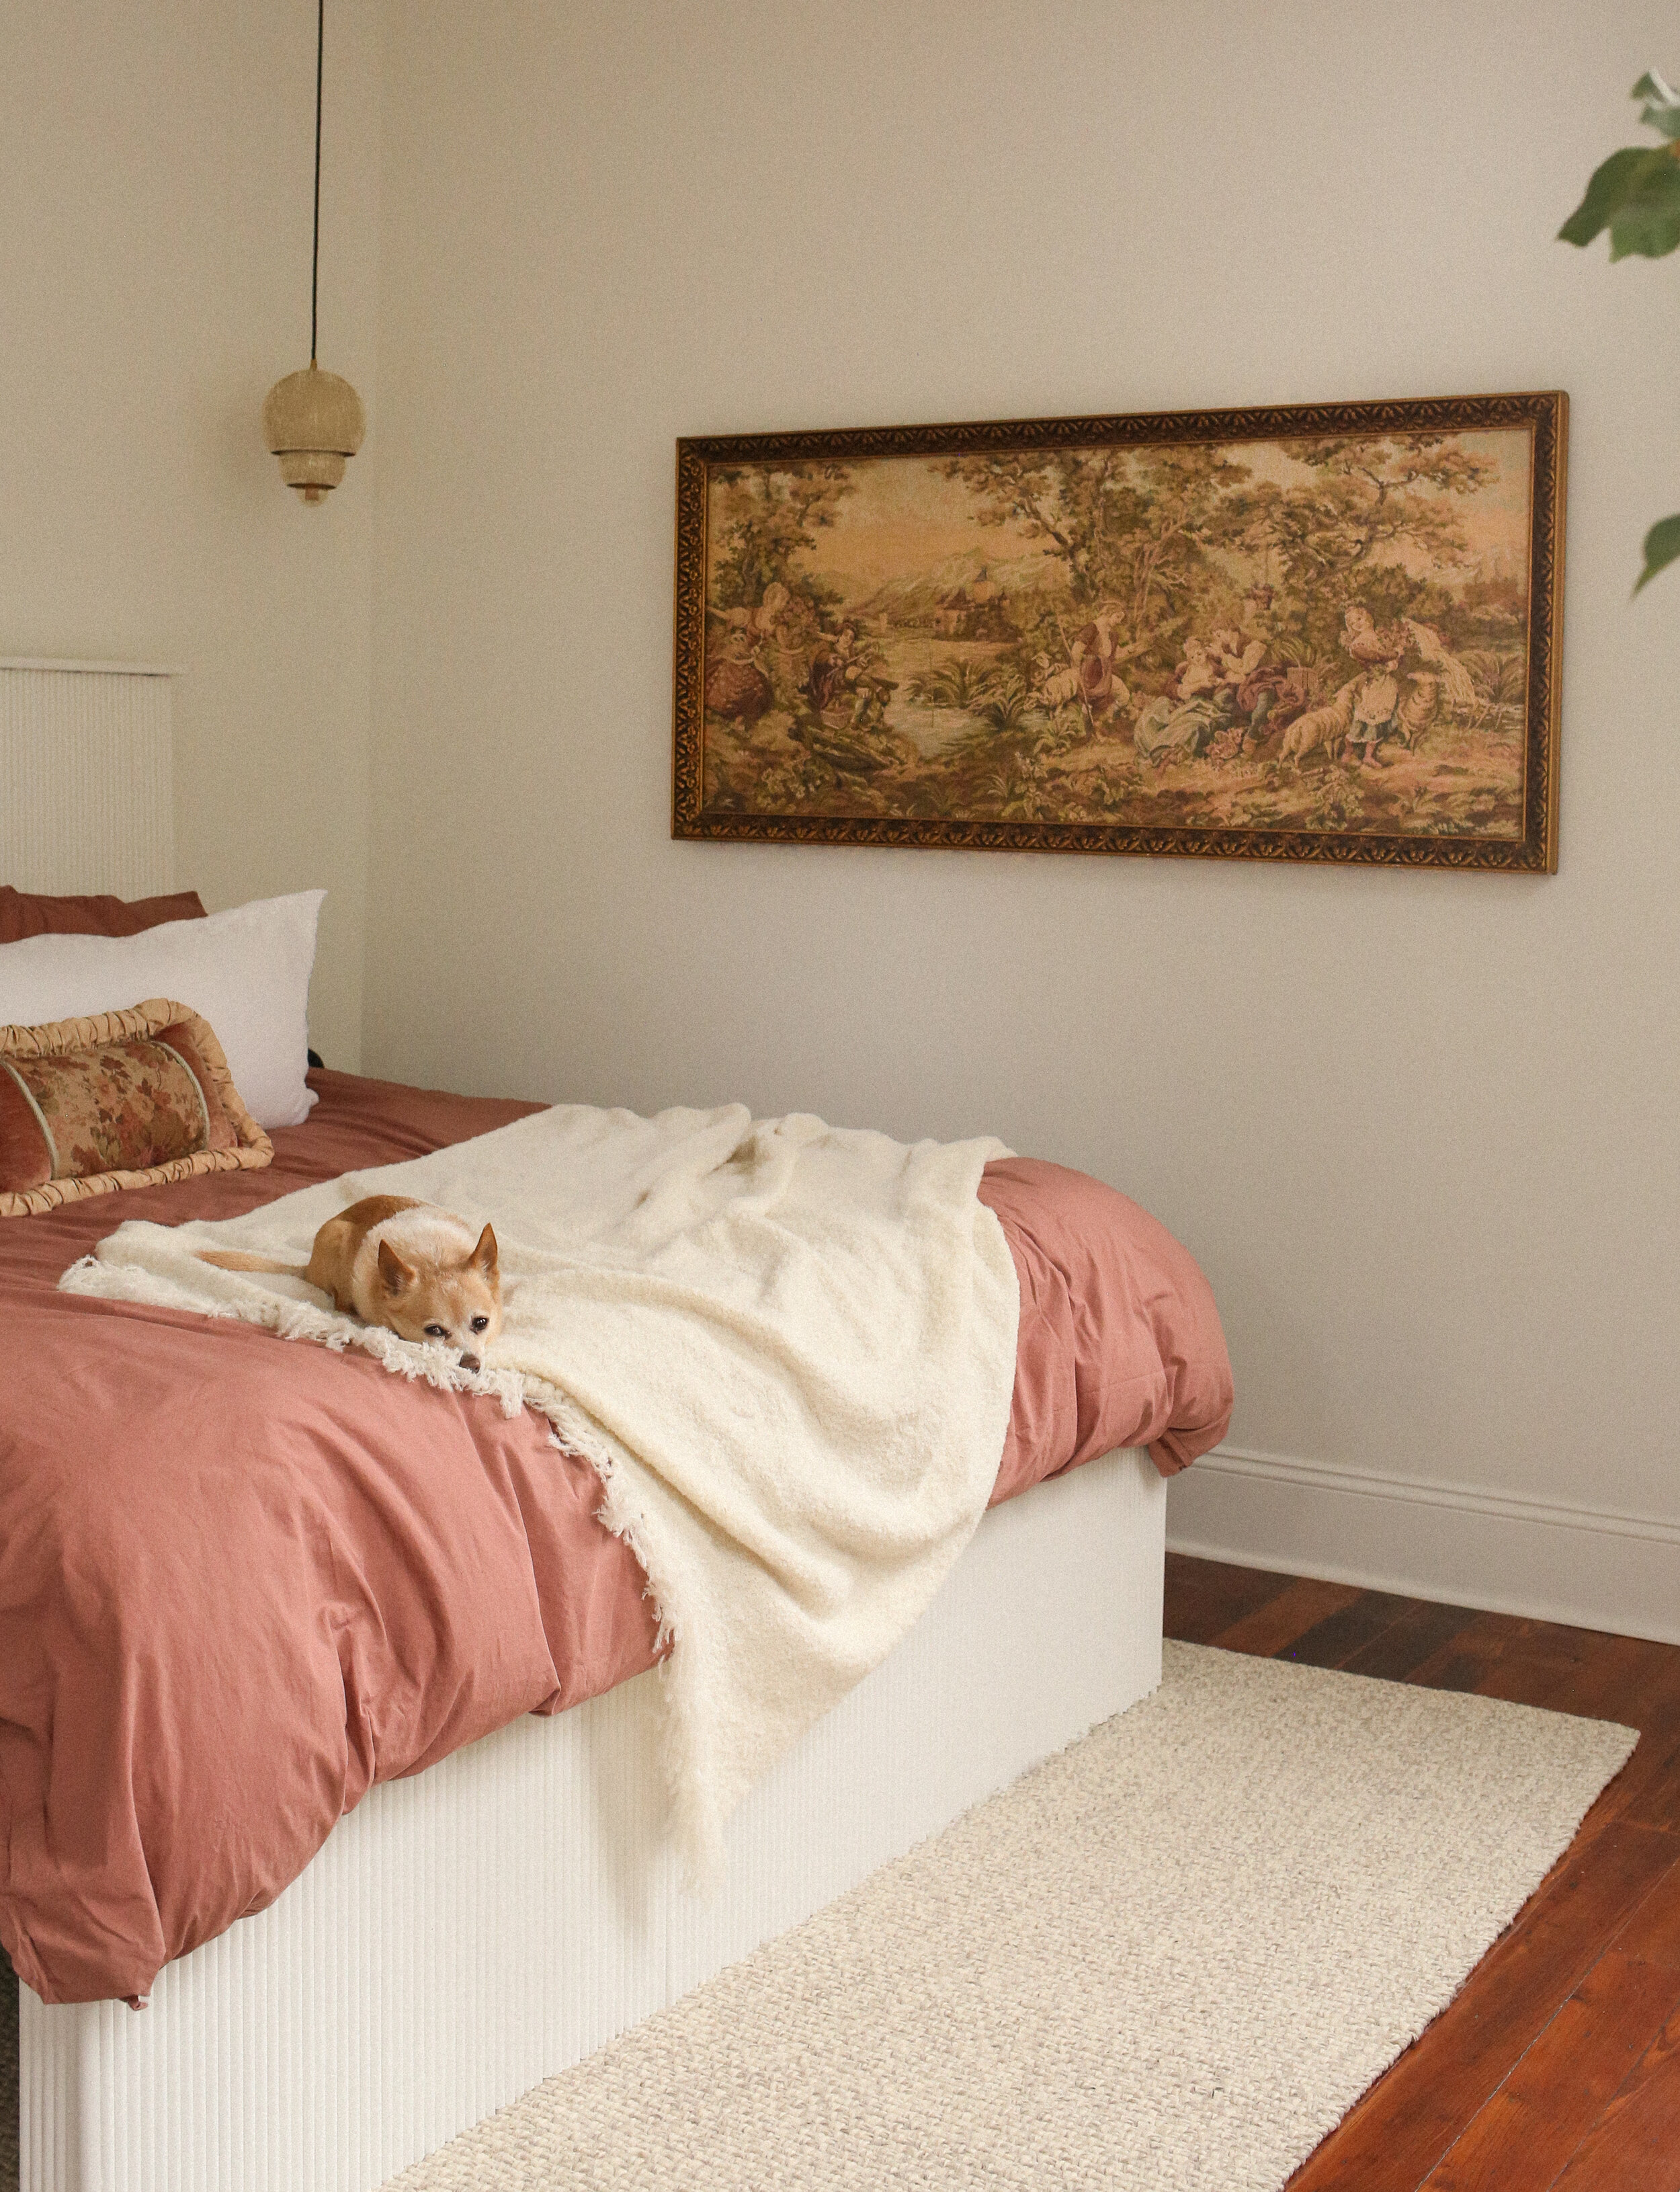
When the paint is dry, you’re ready to lay your slats across the bed frame and make your bed. Sweet dreams, sweetie!!
Notes
Adapting Size: the above instructions are for a standard king sized bed, but you can check this guide to standard mattress sizes to find the measurements you’ll need. Just remember, the bed frame needs to be slightly larger than the mattress as the mattress goes inside of it, so a standard king size mattress is 76” x 80", but our frame measurements are 76.5” x 81”. Adjust accordingly if making a queen, full, etc.
Decorative Fluting: depending on the pattern you pick and what fluting you go with, this measurement will vary greatly. We used 5/16” x 5/8” unfinished pine fluting that we found in-stores at Lowes, but we ended up needing to go to multiple stores to find enough. Home Depot sells something similar online, and if you want to make your life easier you can search for larger pieces of fluting that will require fewer pieces which equals fewer cuts and less install time.