
Rosie Renovation: Tools for Trailer Demo

If you haven't read part 1 of our camper renovation series, check it out! Rosie the Vintage Camper Renovation: Master Plan and 'Before' Photos
Trailer demo. This is definitely one of those situations where it's important to note: if we can do this, literally anyone can do this. Before we started the two week long process of stripping Rosie of the old wood and cabinets and closet that she didn't really need, Beau didn't know the difference between the "pinwheel looking screwdriver" and the "flat one" - and Matt wasn't much better off. Buttttt we've learned a lot about how these old trailers are made and have some hot tips about the tools you may need to save yourself some time, as well as some photos of what we've done so far!
We haven't gone much off course form our original plans for Rosie, though we did decide on a few changes to her overall structure to open up the space. Since we're going to have a permanent bed replace the sleeper sofa, we thought it best to remove the closet directly next to the bed. It opened everything up so so so much and we're super happy we decided to go that route. The closet base will now become our nightstand, an extra perk!
We also decided to take out the overhead cabinets above the dinette to give that side of the camper more space. We'll be replacing the cabinets with secure open shelving that will still allow for storage while not making the space feel stuffy. It's worth noting that even with removing these large areas of storage (the closet and overhead cabinets) we've still got a crap ton of space for storing clothing, accessories, random life things, etc. There's a huge amount of storage space under the dinette seats, under the bed, and above the stove.
We also removed the bunk bed which was our plan from the start. Check out some of the photos of our work so far below, as well as a list of tools you may want to grab before starting your own trailer renovation project.

"Bedroom" Before + After Demo
Structural plan: remove top bunk || remove closet (long door on the right of the first photo below) || transform closet base into nightstand || extend bed from wall to nightstand (still to come)


OK so sorry the before and after photos aren't from the same angle that was dumb but you get the idea! We're really happy with how open it looks, and we can't wait to get the wood cut for the new bed. The bed will go from the white wall all the way to the small nightstand and will be big enough for a twin mattress. Once we have the bed frame installed, we'll be able to finish painting this part of the room, install wallpaper on the 'headboard' wall (right wall), and install window hardware.
Dinette Before + After Demo
Structural plan: remove top row of cabinetry || install open shelving in place of cabinetry (still to come) || replace small table with wooden table (still figuring this out!)


Removing the overhead cabinets definitely adds some breathing room. We're going to install shelves with secure bars where the cabinets used to be, and we'll have to velcro anything on the shelves so they don't fly off when we're towing the camper. There were also three (yes three) lights above the table, and honestly we don't think that was entirely necessary, so we removed the two plug-in ones and detached the hardwired one, which we're planning to replace with something super cute from Sazerac Stitches--that'll be one of the last steps, but we're already foaming at the mouth with excitement or something incredibly shocking like that. Next steps: replace table with a solid wood piece of the same shape, reupholster cushions.
Tools

Tools! As part of our partnership with eBay for this project, we've listed all of the tools we purchased below that are available for pretty sweet prices on eBay. Check out the full selection of tools available on eBay for your own DIY project!
WD-40: this lubricating solution came in handy when removing any rusted over nails, or latches, or other things we'll just refer to as "do-hickeys." If you're dealing with a 50 year old trailer, you can expect some pretty unrelenting rust. WD-40 is quite helpful!
3M Half Facepiece Mask: you're going to want to protect yourself from any possible toxins hiding out in your old trailer - don't go with the cheap disposable masks for this kind of job. It's great for when you're painting in such a small space!
Safety Goggles: stuff kinda just flies everywhere when you're working in a small enclosed space with a ton of old wood and nails etc. Keep those eyes safe!
Clutch Head Screwdriver: most vintage trailers and automobiles have a special kind of screw called clutch screws that need a clutch head screwdriver. They look like little bowtie shapes and we'd never seen them until we got Rosie, so, the more you know! This tool was absolutely necessary for removing all of the curtain rods and cabinet doors.
Sanding Block: for all the small corners of wood and cabinets that have little nicks in them, a sanding block comes in handy for sure.
Hacksaw: pretty much all of the wood used in these things is 1/8" thick, so you don't need anything *too* high powered to cut out closets and cabinets etc. After you've used your hacksaw, go over the edges with your sander to smooth it all out!
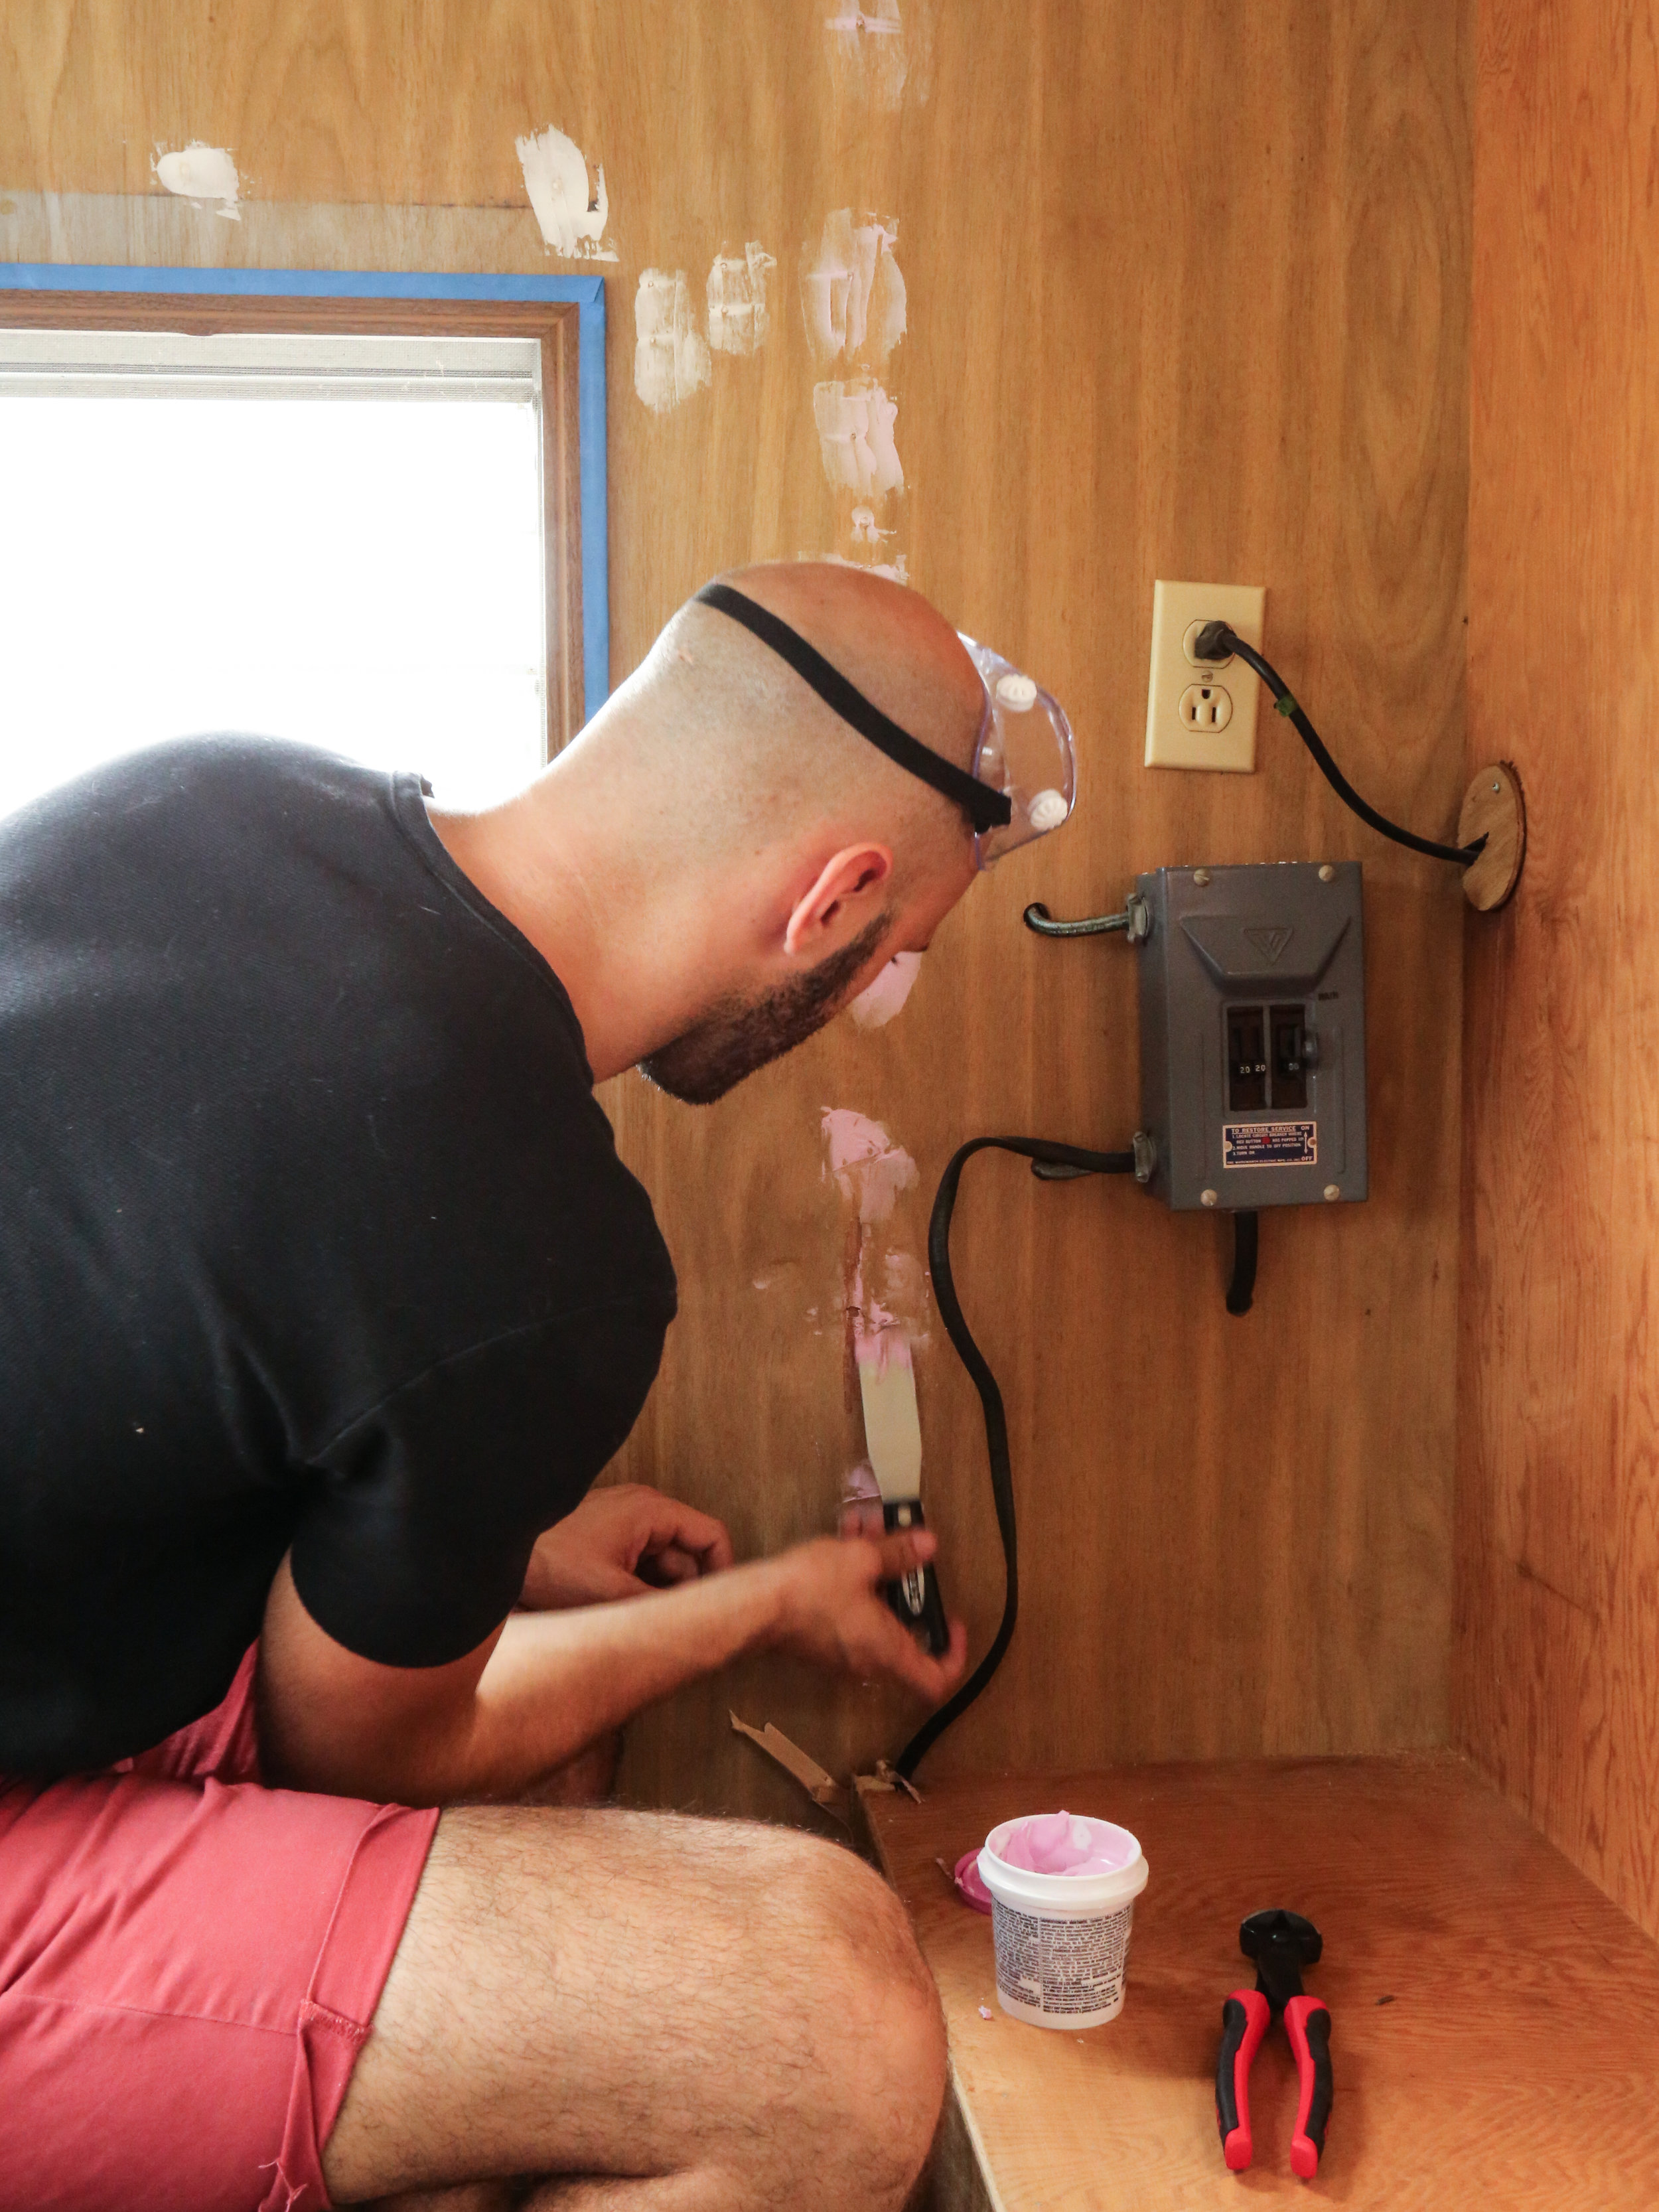
Cutting Pliers: Our particular trailer was built in such a way that some of the interior framework was nailed into place from the outside before the outside was then covered in exterior sealant. Basically it means that when you remove anything that's flush against the wall, you've got two inches of nail sticking out at you that you can't pull out from the opposite side because it's all sealed up. If this sounds like the beginning of a horrifying Saw movie, you are absolutely right. These pliers let you snip the nails flush with the wood. Then, you can cover these marks with spackle and paint over them!
Spackle and Joint Knife: You're likely going to have a bunch of small areas that get messed up during the renovation. Before you paint, go over any blemishes in the walls with spackle and scrape it with a joint knife until it covers whatever holes you need it to. The kind we got goes on pink (which you know we loved) and dries white. Once it's dry, sand it down so its even with the rest of the surface. Remember to wipe the residue away with a rag or duster before painting!
And of course, these items are always handy: measuring tape || hammer || household gloves.
Thanks for stopping by to check on Rosie, more updates are on the way! This project is in partnership with eBay. With over 1 billion items listed, its a pretty dope place to shop for all the random things you'll need to do your own vintage trailer renovation!

